Simple Guide How to Rename Domain Name in Windows Server 2012
- Hamizi Jamaluddin
- Jul 18, 2019
- 4 min read
Updated: Jul 21, 2019
For Server Admin who familiar with Windows Server 2000 & 2003, you maybe still remember about RENDOM utility, which is this use to rename Windows 2000 @ 2003 domain name and have to install manually.
But in Windows Server 2012 domain you don’t have to separately install "Rendom" utility.
It gets installed as part of “Active Directory Domain Services” role when you promote a server to the DC role. And It can be found here : %windir%\system32\rendom.exe.
For this time Simple Guide, I will show you all how to rename domain name in Windows Server 2012, the process is straightforward.. but as usual.. backup any necessary information @ Server before you proceed & I always advice especially to my students, please do this exercises in LAB Environment (Hyper-V). Don't simply take any risk by doing this is production environment unless you have to!!.
For this exercises, I'm using MCT courseware from 20410B (Installing and Configuring Windows Server 2012)
.
The existing domain is ADATUM.COM and I will rename it to CPX.LOCAL.
** for those who want to built your own AD and try this exercises, please refer to my previous post https://www.osi.com.my/post/simple-guide-how-to-built-active-directory-in-windows-server-2012/.
So, let get started...
1 - Open your System Properties and check your existing domain name, if you see from my Windows Server 2012 system properties, my existing domain name is Adatum.com. This will be change to cpx.local in the short while.
2 - Next, open your Server Dashboard, go to Tools & click DNS to open DNS Manager..
3 - on the DNS Manager, you must create the New DNS Zone (cpx.local), this is to make sure that after whole process successfully, your member server @ Windows clients can join to new Domain name.
** to create new DNS Zone, Right Click Forward Lookup Zone, and click New Zone...
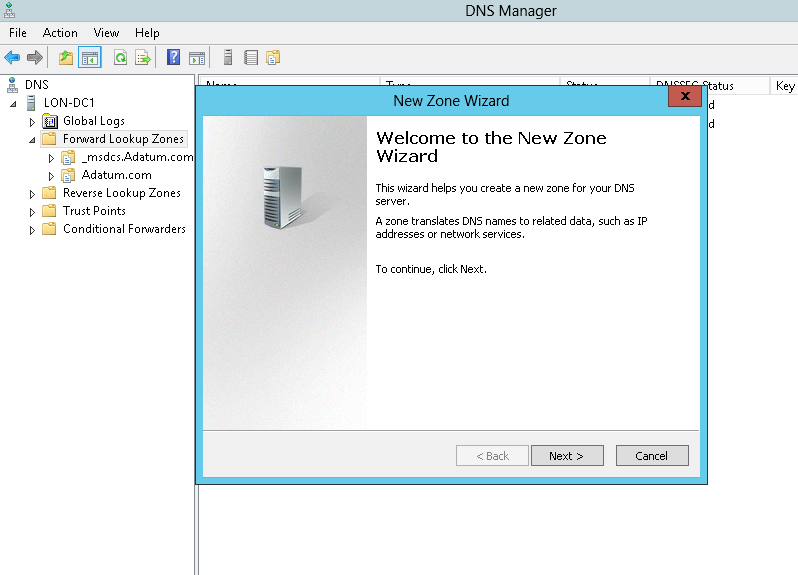
4 - On the Welcome to the New Zone Wizard, just click Next button..
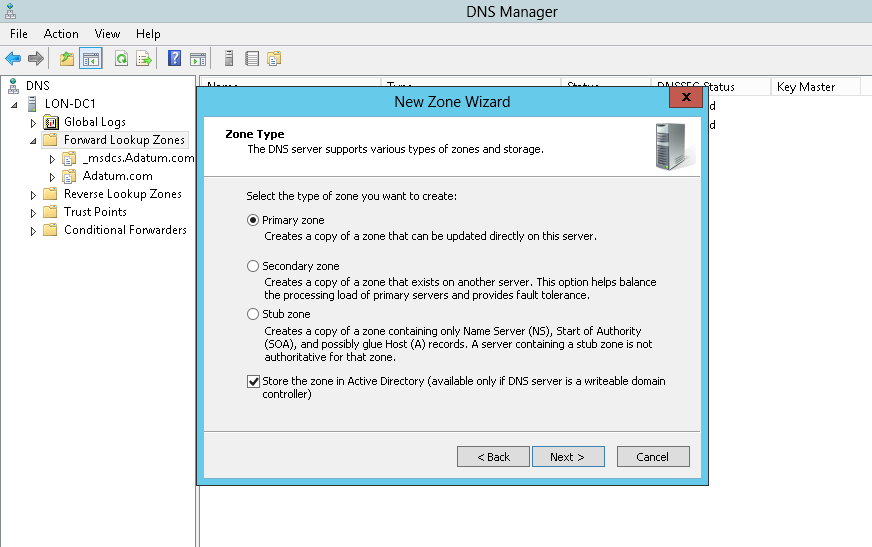
5 - On the Zone Type, Click Primary Zone and click Next..
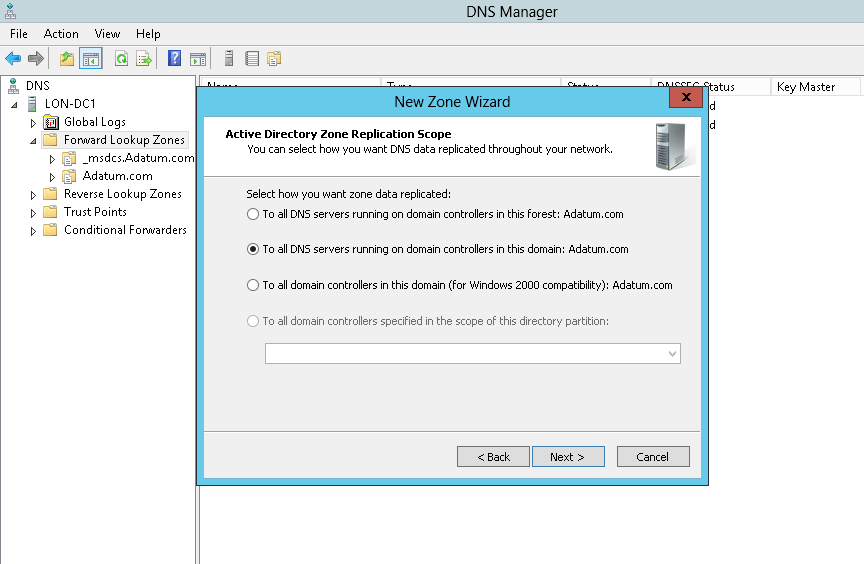
6- On the Active Directory Zone Replication Scope, click button To all DNS servers running on domain controllers in this domain:Adatum.com and click Next...
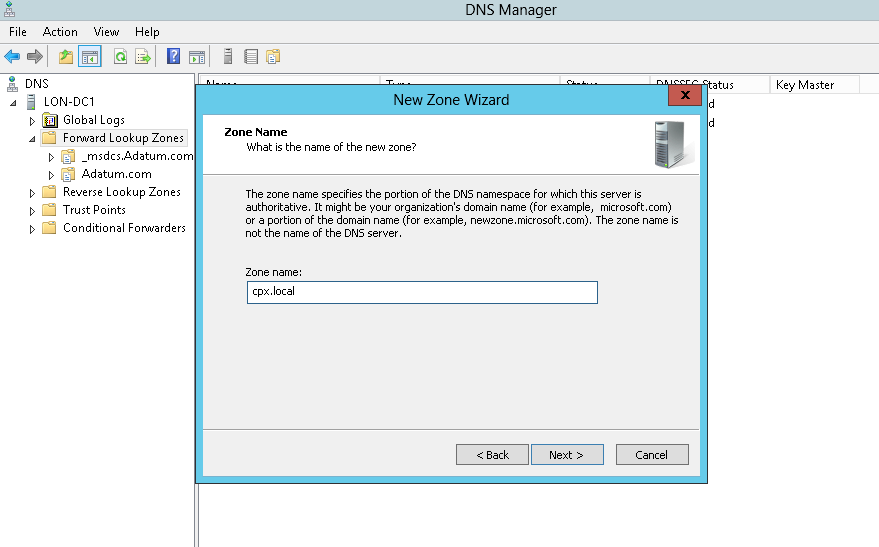
7 - In the Zone Name, key in your new Domain Name, my new Domain Name is cpx.local
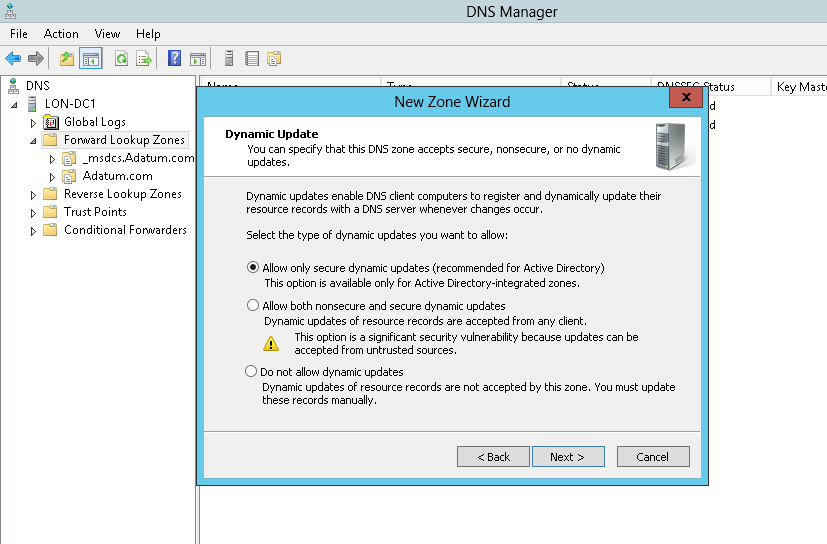
8 - On the Dynamic Update, Click Allow only secure dynamic updates (recommended for Active Directory), and click Next...
9 - On the completing the New Zone Wizard, click Finish to complete the process.
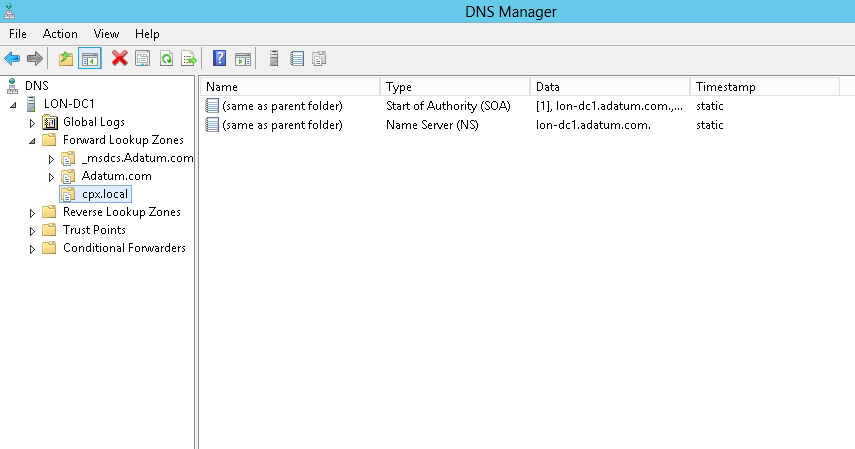
10 - On DNS Manager, you can see my new Domain Name is listed (cpx.local)
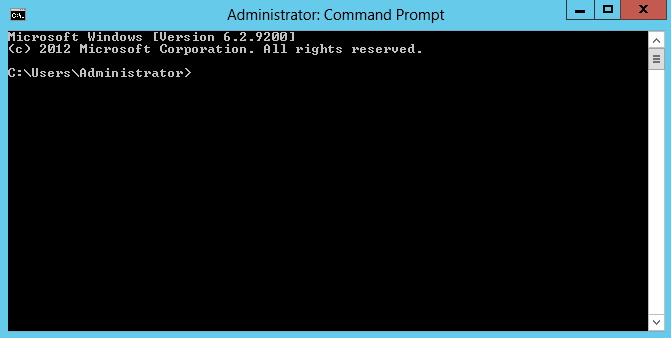
11 - Next, open Command Prompt, run as administrator..
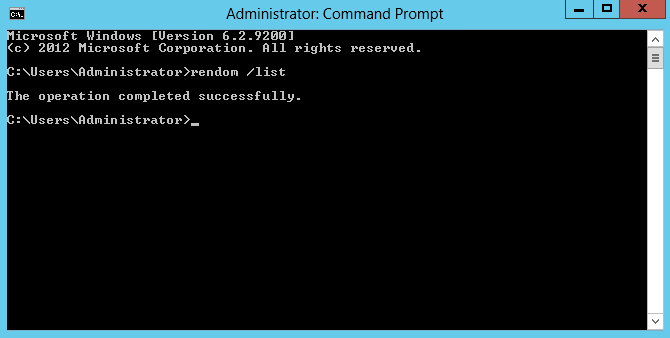
12 - In CMD, type rendom /list and press enter - this command use to generate a state file named Domainlist.xml. This file contains the current forest configuration.
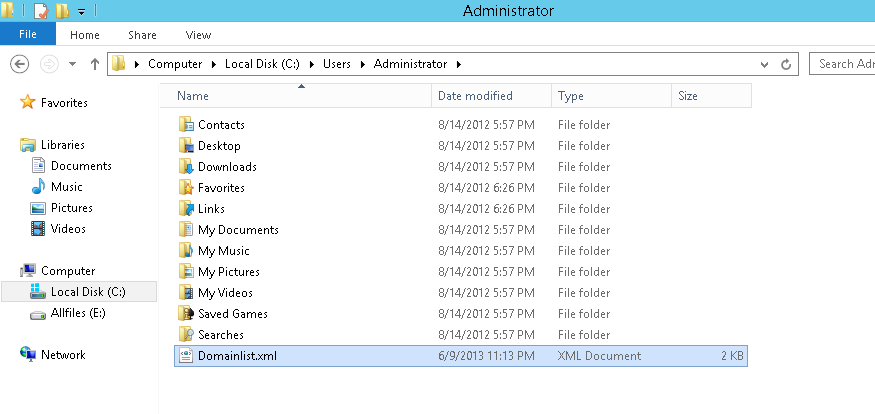
13 - Next, open computer and browse to C:\Users\Administrator folder to get your Domainlist.xml.
14 - Once you see the Domainlist.xml, right click the file name & choose Edit.. I going to change the DNSname and NetBiosName in this Domainlist.xml file.
15 - Once the Domainlist.xml open, you can see there are few existing Domain name, change this existing domain name to new domain name.. refer to picture:
16 - once you change to new Domain name, make sure you save the Domainlist.xml file..
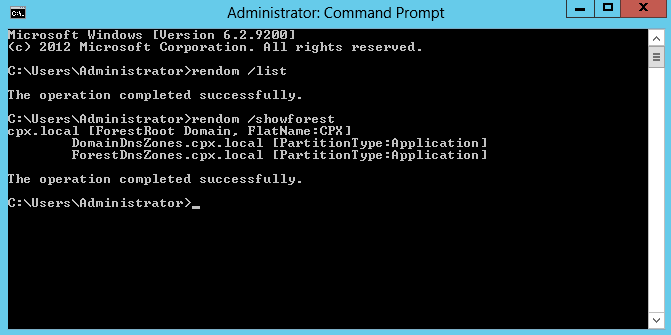
17 - After you save the Domainlist.xml file, close it and return to CMD. On the CMD, type rendom /showforest. This is to show the potential changes; this step does not make any changes.
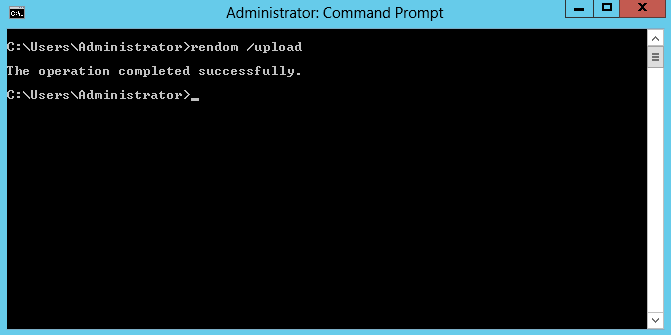
18 - Next, type rendom /upload. This is to upload the rename instructions (Domainlist.xml) to the configuration directory partition on the domain controller holding the domain naming operations master role.
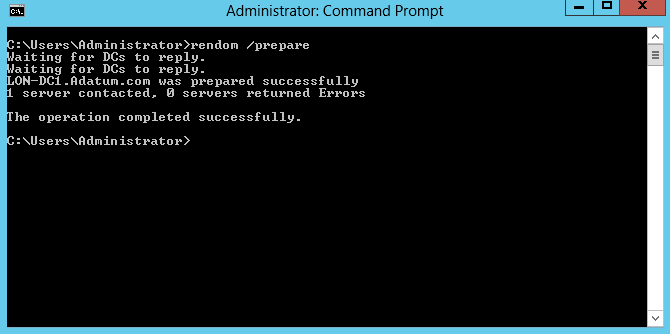
19 - Next, type rendom /prepare. This use to verify the readiness of each DC in the forest to carry out the rename instructions. This should contact all DC's successfully and return no errors before proceed to next process.
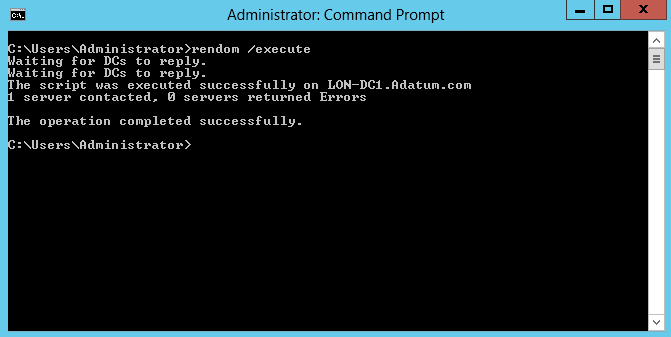
20 - Next, type rendom /execute. This is to verifies readiness of all DC's and then preforms the rename action on each one.
** Remember also there will be a service interruption during this process. Once the process successful, your DC Server will be restarted.
21 - Once your DC Server restarted, log in using the new Domain name as administrator.
22 - Next, after you successfully log in, open System Properties and check your old Domain Name is now gone.. replace by new Domain name...
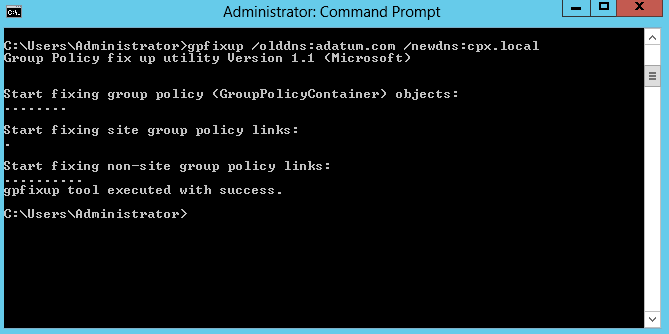
23 - Next, open CMD again, and type gpfixup /olddns:adatum.com /newdns:cpx.local. This is to refresh all intradomain references and links to group policy objects.
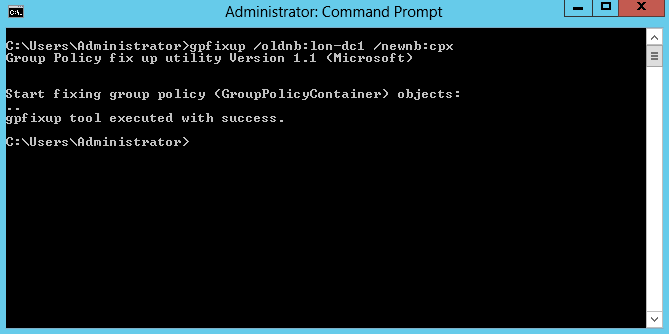
24 - Next, type gpfixup /oldnb:lon-dc1 /newnb:cpx..
25 - Next, type rendom /clean. This is to remove references of the old domain name from AD.
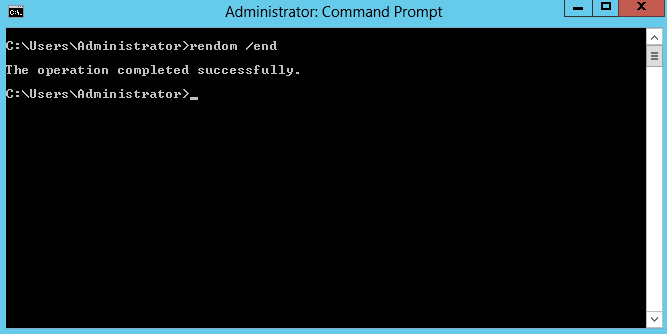
26 - Next, type rendom /end. This is to unfreeze the forest configuration and allow further changes. This was frozen during the rendom /upload step.
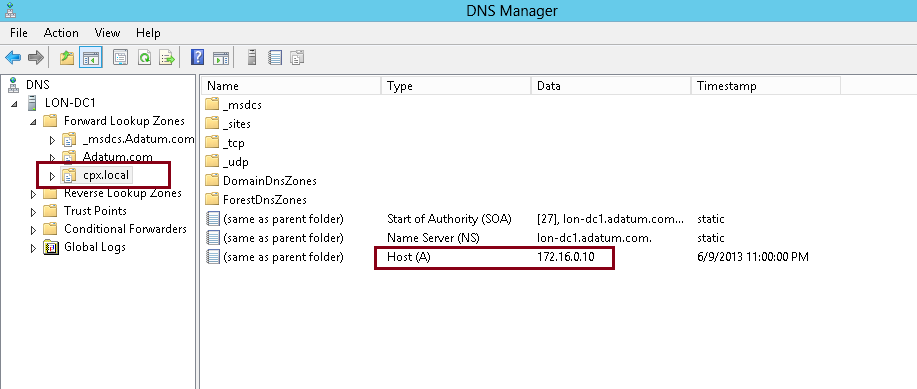
27 - Next, Open DNS Manager, click your new created domain (cpx.local), here you can see your own IP listed but we still have long way to go to make sure this DNS Zone is working..
28 - Next, turn on your client PC, for this exercise I'm using Windows 8 as a client. Open System Properties and join to new Domain (cpx.local). in case you getting an error, don't get scared!!.. just click OK and you Windows Security box will show up and now key in administrator and domain password and click OK (Welcome to the cpx.local domain). Refer pictures..
29 - After your Windows 8 restart, log in as a domain administrator.
30 - Once you log in, double check Windows 8 System Properties. Now your Windows 8 successfully join in to new Domain (cpx.local).
31 - Now, go to the Server 2012 and open DNS Manager, you can see now your Windows 8 Client is listed in DNS.
32 - You can also check in Active Directory Users & Computers that your Windows 8 Client now also listed.
Orait.. I done for now.. c'ya in next post!!!
![OSI SOLUTIONS FINAL JPEG-01[3].jpg](https://static.wixstatic.com/media/93bf49_ff276ec9c565489187349dc0b3af8ef9~mv2.jpg/v1/fill/w_150,h_182,al_c,q_80,usm_0.66_1.00_0.01,enc_avif,quality_auto/OSI%20SOLUTIONS%20FINAL%20JPEG-01%5B3%5D.jpg)
























Comments